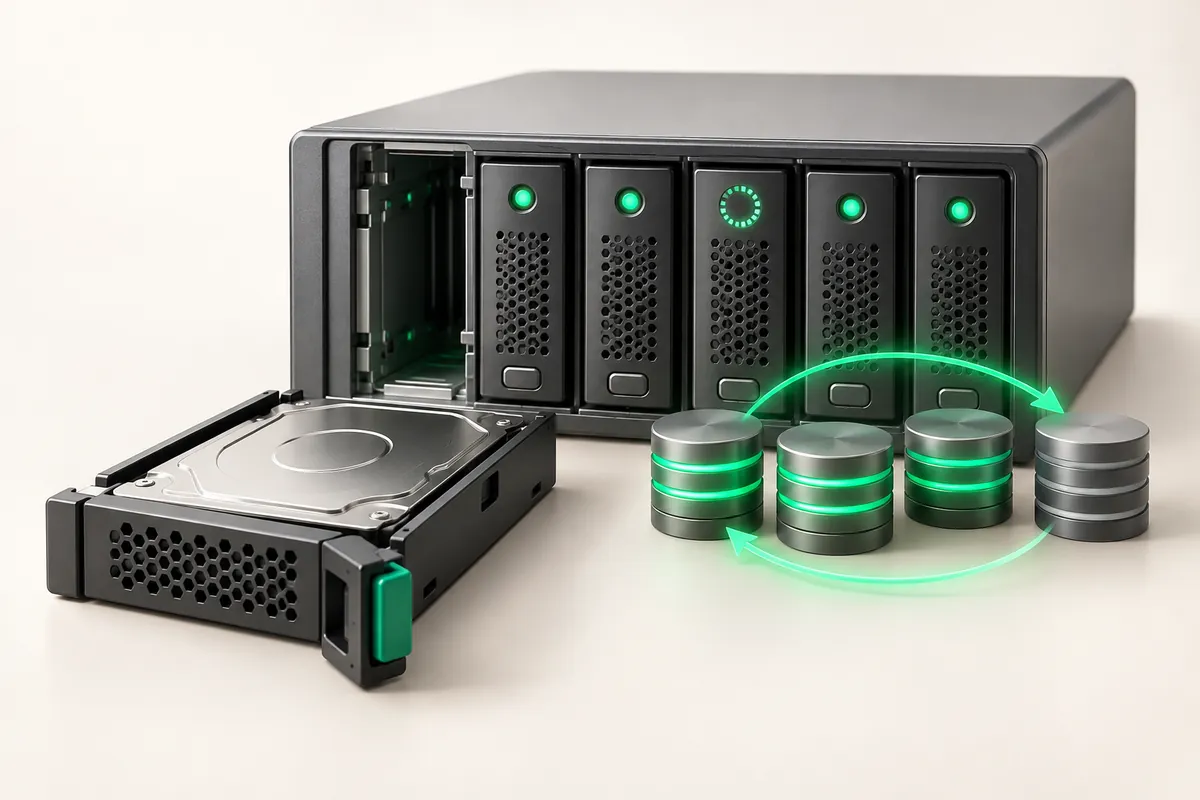
Replacing a disk in a RAID array without stopping the server
The order is: find the failing drive and its serial number, mark it faulty and remove it from the array, ask the data centre to swap the disk in the cage, copy the partition table onto the new drive, add the partitions back and wait for the rebuild. The server stays online as long as the cage supports hot swap and the array is redundant.
- Record the drive serial number before you open a ticket: cage slots do not map to
/dev/sdXnames. - The new drive is added by partitions, not as a whole device, using the same layout as the surviving disk.
- After rebuilding a boot array you must install the bootloader on the new disk, or the server will not come up on the next failure.
- On a hardware controller
storclidoes the same steps and the controller copies the layout for you.
Step 1. Find the disk and record its serial
In /proc/mdstat a dropped drive shows as an underscore instead of U and carries an (F) suffix. The device name can change after a reboot, so the serial number is your reference.
# array state
cat /proc/mdstat
mdadm --detail /dev/md0 2>&1 | grep -E 'State|Number|Failed|removed'

# serial numbers and models of every disk
lsblk -o NAME,SIZE,SERIAL,MODEL
smartctl -i /dev/sdb 2>&1 | grep -E 'Serial|Device Model'
If the disk is still alive but already failing, the SMART attributes show it before the array throws the drive out; reading them is covered in SMART disk diagnostics.
Step 2. Remove the disk from the array
The array marks a drive faulty on its own after a write error, but for a planned replacement you do it by hand. Remove the drive from every array its partitions belong to.
# mark faulty and remove from the array
mdadm --manage /dev/md0 --fail /dev/sdb1
mdadm --manage /dev/md0 --remove /dev/sdb1

# repeat for every array if the disk holds several partitions
mdadm --manage /dev/md1 --fail /dev/sdb2
mdadm --manage /dev/md1 --remove /dev/sdb2

# wipe the metadata so the disk does not rejoin the array
mdadm --zero-superblock /dev/sdb1
Step 3. The physical swap
On ZevsHost dedicated servers the on-duty site shift replaces the drive on request. Put the model, the serial number of the removed drive and a confirmation that it is already out of the array into the ticket. The engineer needs to know which drive to pull, because /dev/sdX names mean nothing on the other side of the rack.
Step 4. Partition the new disk
The replacement drive arrives empty. Copy the layout from the surviving disk: sgdisk for GPT, sfdisk for MBR. After copying a GPT you must give the new disk its own GUID, otherwise the system sees two disks with an identical identifier.
# check the partition table type
fdisk -l /dev/sda 2>&1 | grep -i 'Disklabel type'

# GPT: clone the layout sda -> sdb and assign a new GUID
sgdisk --replicate=/dev/sdb /dev/sda
sgdisk --randomize-guids /dev/sdb

# MBR: clone the layout
sfdisk -d /dev/sda | sfdisk /dev/sdb
Step 5. Add the disk back and wait for the rebuild
# add the partitions to their arrays
mdadm --manage /dev/md0 --add /dev/sdb1
mdadm --manage /dev/md1 --add /dev/sdb2

# watch the progress
cat /proc/mdstat
mdadm --detail /dev/md0 2>&1 | grep -E 'Rebuild Status|State'

# raise the rebuild speed for the duration of the window (KB/s)
echo 50000 > /proc/sys/dev/raid/speed_limit_min
echo 400000 > /proc/sys/dev/raid/speed_limit_max
Recovery time depends on the drive type and the array level. The figures below assume a 1 TB disk under moderate load; the levels themselves are covered in the guide on RAID 0, 1, 5 and 10.
| Configuration | What the system does | Rough time | Risk in the window |
|---|---|---|---|
| RAID 1, 2×NVMe 1 TB | copies the mirror contents | tens of minutes | loss of the second disk |
| RAID 10, 4×NVMe 1 TB | copies one pair | tens of minutes | loss of the paired disk |
| RAID 5, 6×HDD | reads every disk and recomputes parity | from 10 hours | a second failure and read errors |
Step 6. The bootloader on the new disk
The array holds no boot sector, because the boot code lives outside the md partitions. After the rebuild the new disk carries the data, but the system cannot boot from it until you install the bootloader by hand.
# BIOS mode, Debian/Ubuntu
grub-install /dev/sdb
update-grub

# BIOS mode, RHEL, AlmaLinux, Rocky
grub2-install /dev/sdb
grub2-mkconfig -o /boot/grub2/grub.cfg

# UEFI: copy the ESP partition onto the new disk
dd if=/dev/sda1 of=/dev/sdb1 bs=1M status=progress
efibootmgr -v
Two mistakes at this step cost you downtime. The first is adding the whole device (/dev/sdb) to the array instead of a partition: the array assembles fine, but the disk carries no partition table and the server will not start from it. The second is skipping the bootloader: everything works while the first disk lives, and the machine drops into "no bootable device" the moment it dies. Verify before you close the ticket: cat /proc/mdstat shows every device as [UU] with no underscores and no recovery line, lsblk shows the same partitions on the new disk as on the old one, and efibootmgr -v or grub-install finished without errors. If the array is hardware, check it through the controller utility instead.
Key takeaways
- Serial number first, ticket second: an engineer cannot find a disk by
/dev/sdX. - Remove the drive from every array holding its partitions and zero the superblock.
- Clone the layout from the surviving disk and randomize the GUIDs on GPT.
- The rebuild starts right after
--add; thespeed_limitknobs control its pace. - Install the bootloader on the new disk by hand and verify it before closing the task.